New
Convert Icons - Make your own Claris FileMaker icons with our Icon Converter.
Built for the community. Free now, free forever.
Use FileMaker Icons from Your Dock
Install our PWA and access your favourite FileMaker icons anywhere, anytime. You can also access the converter with this, too.
Install the App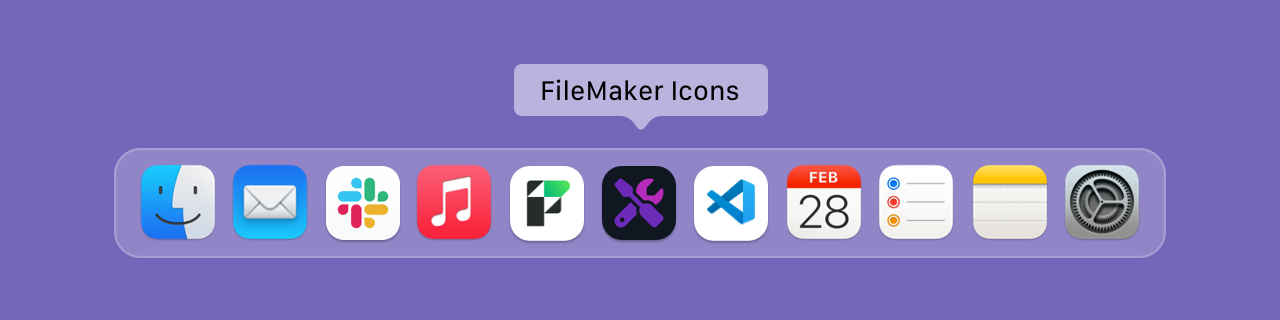
Try moving the drive to a black USB 2.0 port instead of a blue USB 3.0 port. The System Screen Goes Black and Won't Boot Turn off the PC and unplug the power cable.
Esonic has manufactured several variations of the H61 chipset motherboard over the years (such as the Esonic H61NEL, H61FHL, or H61DA). Installing a BIOS meant for a different variation will brick your board.
The utility will clear the old flash blocks and write the new firmware. Restart when prompted. Step 5: Post-Update Optimization
This comprehensive guide covers everything you need to know to safely update your Esonic H61 motherboard BIOS. 🛠️ Prerequisites Before You Begin Esonic H61 Motherboard Bios Update--------
: Restart your PC and tap the Delete (Del) or F2 key repeatedly during the boot screen to enter the CMOS Setup Utility.
Turn on the PC, enter the BIOS menu again using the Delete key, and select Load Optimized Defaults (usually F9).
: Ensures full compatibility for 3rd Gen Intel "Ivy Bridge" processors ( ), alongside the standard 2nd Gen "Sandy Bridge" ( ) support. Try moving the drive to a black USB 2
To update the BIOS on your Esonic H61 motherboard:
The H61 platform requires a clean USB environment to flash firmware successfully.
Updating the BIOS on your Esonic H61 motherboard is a straightforward process. Follow these steps carefully: Installing a BIOS meant for a different variation
Upgrading from a 2nd-Gen CPU to a 3rd-Gen Intel CPU (e.g., Core i5-3470 or i7-3770).
Move the extracted Esonic BIOS files back onto the drive if Rufus cleared them during the bootable setup. Step 4: Configure the Motherboard BIOS Settings
Never update during a thunderstorm. If possible, plug your desktop into an Uninterruptible Power Supply (UPS).
: Visit the Esonic Support or Product Page to find the "Download" or "Support" section for your specific model.
Visit the manufacturer's support page and locate your motherboard model. Download the latest BIOS revision (usually a file). Extract the files if they are in a Step 2: Prepare the USB Drive
Make Your Own
From SVG to PNG, and even JPG, — our converter handles them all and turns them into clean, FileMaker-ready icons.
 Convert Icons
This website and Bevl Software are not affiliated with, endorsed by, or sponsored by Claris International Inc. FileMaker and Claris FileMaker are registered trademarks of Claris International Inc. All icons and resources provided on this site are for educational and development purposes only. Users are responsible for ensuring compliance with Claris FileMaker's terms of service and licensing requirements.